In this age of the digital world, video wedding invitations are gaining popularity. Weddings can be expensive, and digital wedding invitations offer a potential for savings because you don’t need to print, envelope, and mail the cards. Furthermore, you don’t need graphic design experience and complicated software to design these invitations. You can simply design an animated video invitation in Canva and share it with your friends digitally via any messaging app or e-mail service. In this detailed guide, we will explore the step-by-step process of making an elegant video wedding invitation, which is perfect for viewing on your guests’ phones.
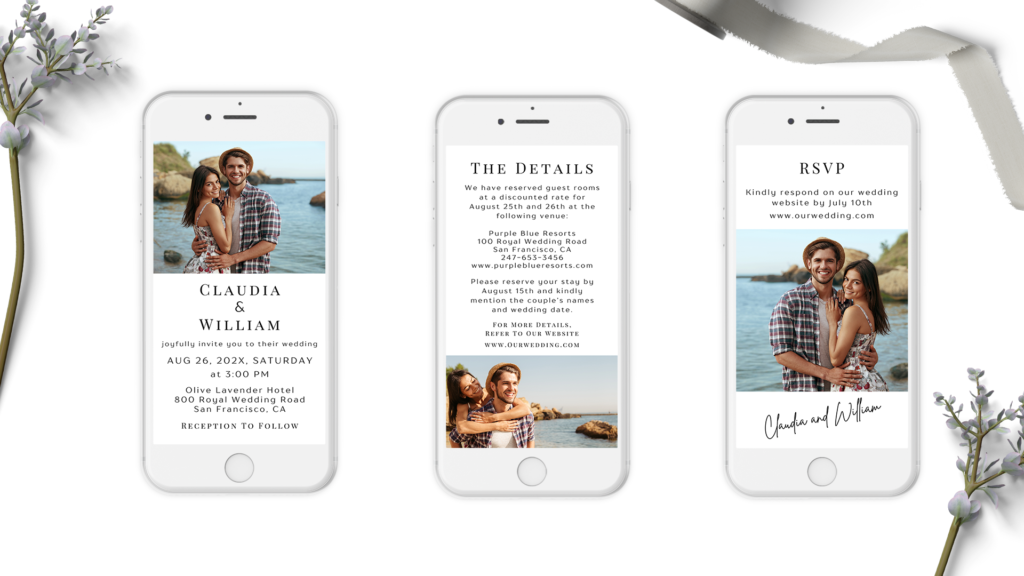
What should a Video Wedding Invitation include?
A video wedding invitation typically consists of the following slides:
- Wedding Announcement Slide displaying the date, venue, and time
- Wedding Details Slide
- RSVP Slide
You can add or combine any number of slides based on your personal preference.
1. Select the Right Canvas Size
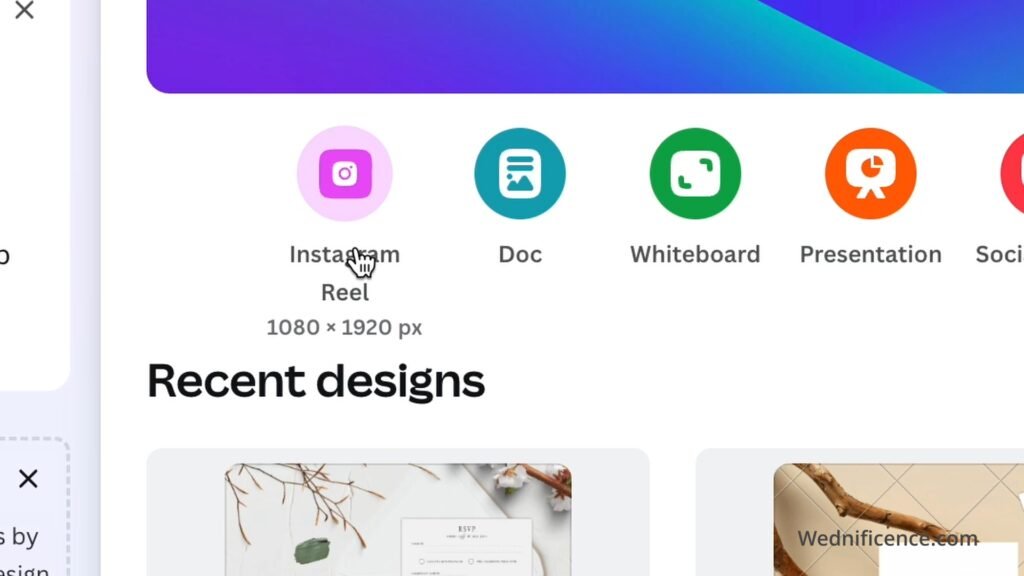
Canva has various canvas sizes that offer the right dimensions for different social media platforms and formats, for instance, canvas sizes for Instagram Reel, Instagram Story, and Instagram Posts. These canvas size presets are offered so that you don’t need to figure out the ideal dimensions for your file. Therefore, there is no need to create a custom file with the right dimensions, as we will select one of these preset canvas sizes to save time and effort.
- Log in to Canva’s Home Page.
- Select the Instagram Reel Preset. This preset has dimensions of 1080 x 1920 pixels, which is ideal for viewing a video on any phone.
2. Design the First Slide (the Wedding Announcement Slide)
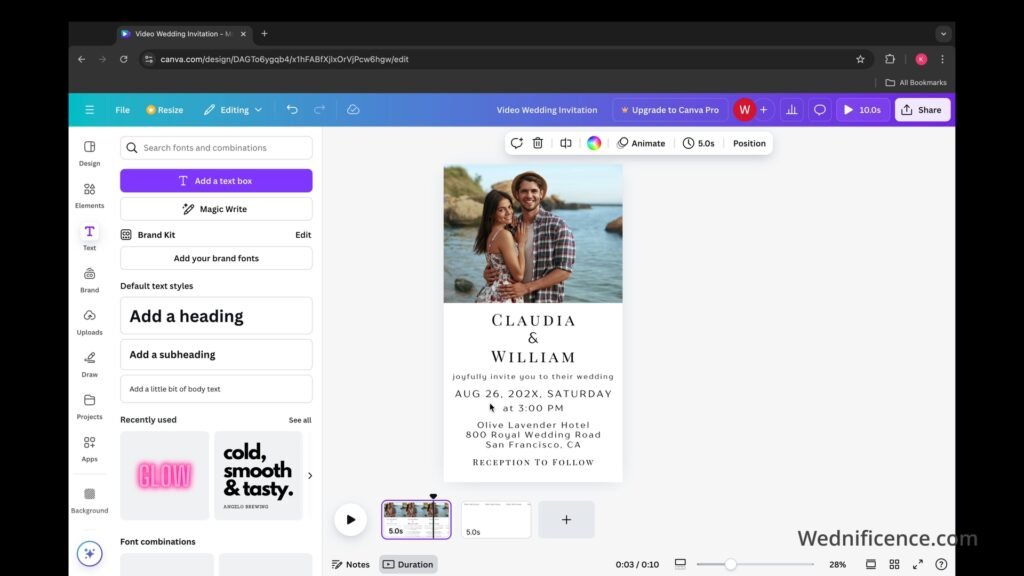
Once you are inside the template, perform the following steps to design the first slide, which is a wedding announcement slide:
- Upload the couple’s photo in Canva using the Upload tool on the left side.
- Click the uploaded photo to add it to the template.
- Resize the photo to fit the top of the screen.
- Leave enough space below for the details.
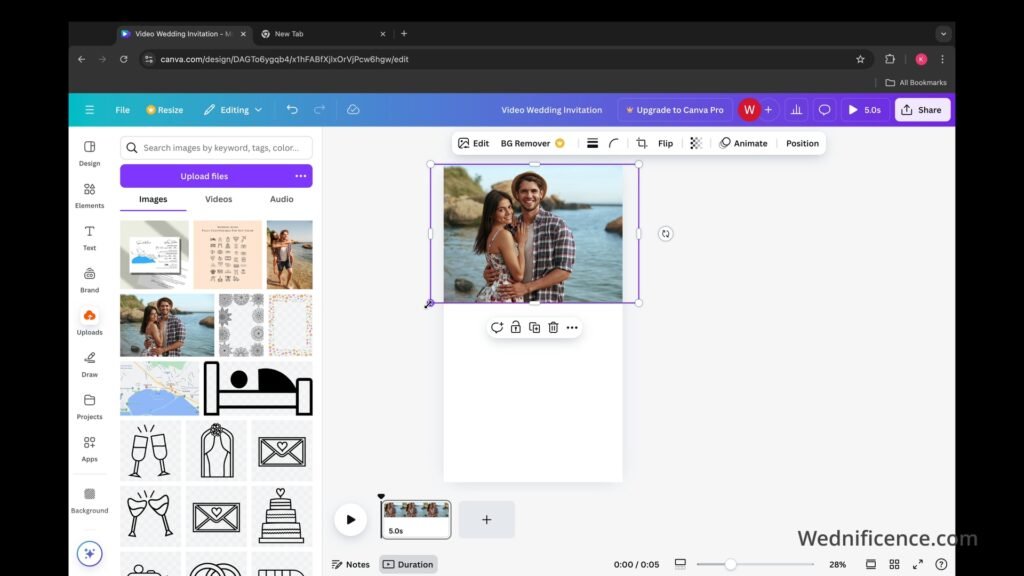
After you have inserted and resized the photo, the next step is to start adding wedding details.
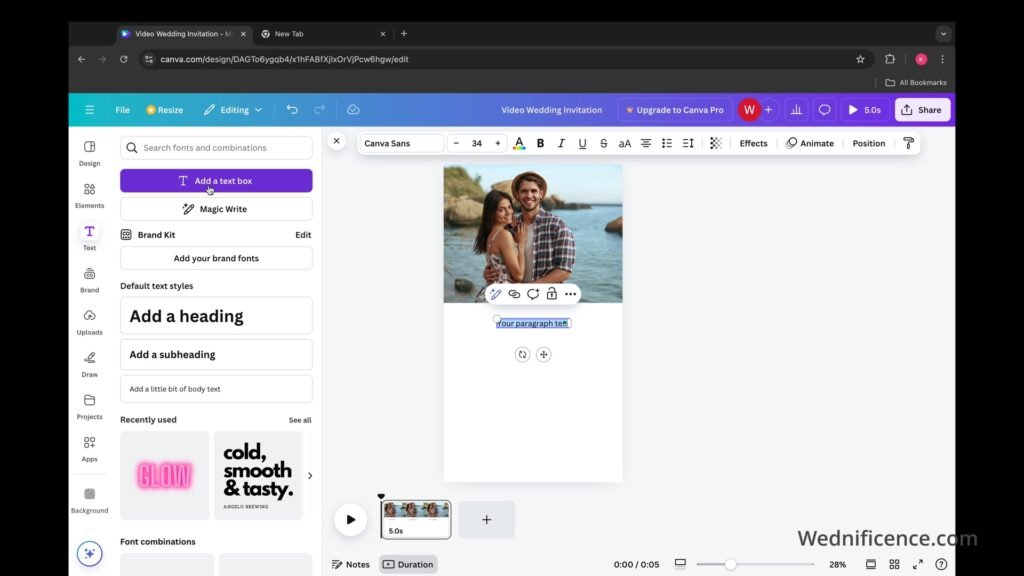
- Click the Text tool on the toolbar located on the left side.
- Start typing or adding text. Add the following details:
- The Bride’s and Groom’s Names
- Wedding Date
- Wedding Time
- Venue Details
- Add spacing between each letter using the Letter Spacing tool. This makes the text visually appealing. The level of spacing depends on the font type and size.
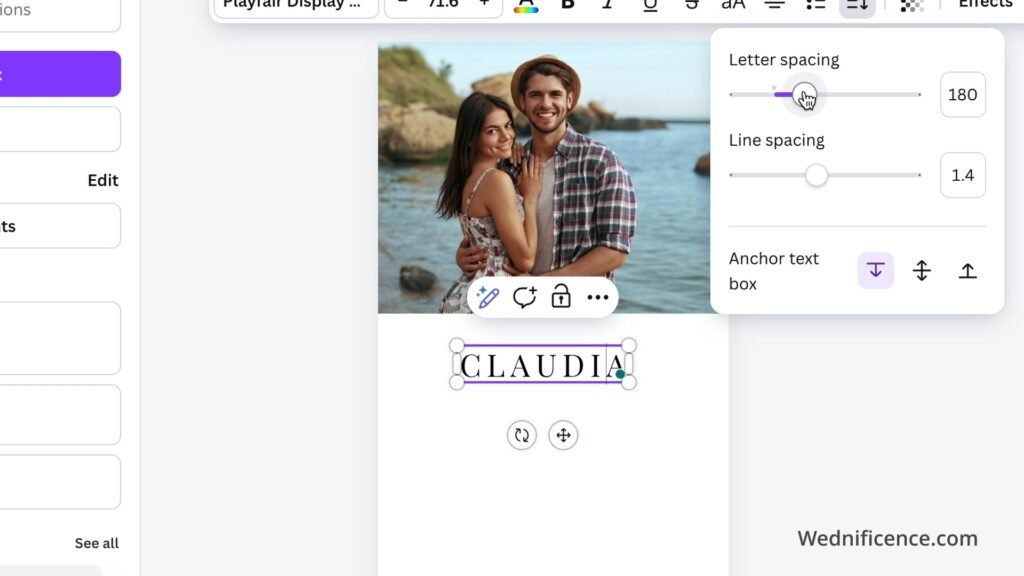
The rule of thumb is that the bride’s and groom’s names should be the highlight of an entire text. The names should be the largest in font size, followed by the wedding date.
3. Design the Second Slide (the Wedding Details Slide)
- Click the Plus icon on the timeline at the bottom to add the second slide.
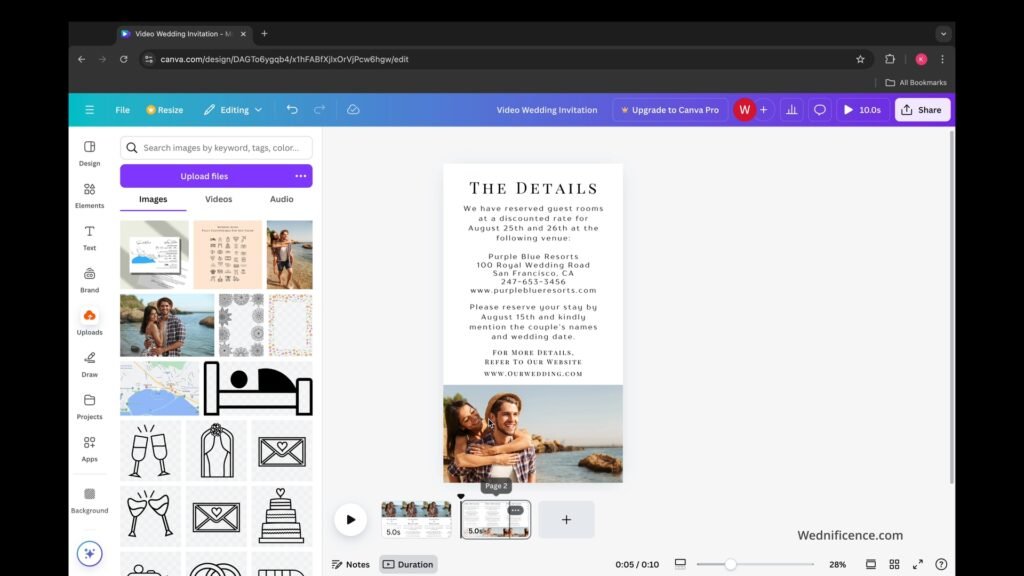
- Add the wedding details that you would like your guests to know. Usually, this slide contains details related to the guests’ accommodation. Additionally, it typically includes the wedding website address.
- Add the second photo.
- Move and resize the photo to fit the bottom of the slide.
Selecting the Appropriate Fonts
You should use a pair of two fonts for the text. The font type depends on your personal preference. While the Serif fonts offer a formal tone, the signature fonts exude a friendly vibe. Experiment with different fonts to see what works best for you.
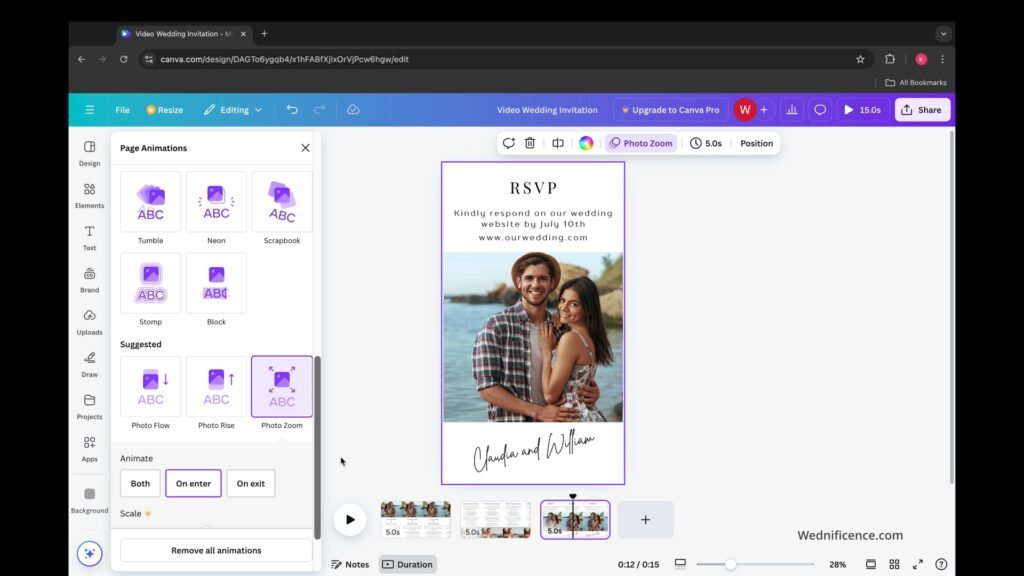
4. Design the Third Slide (the RSVP Slide)
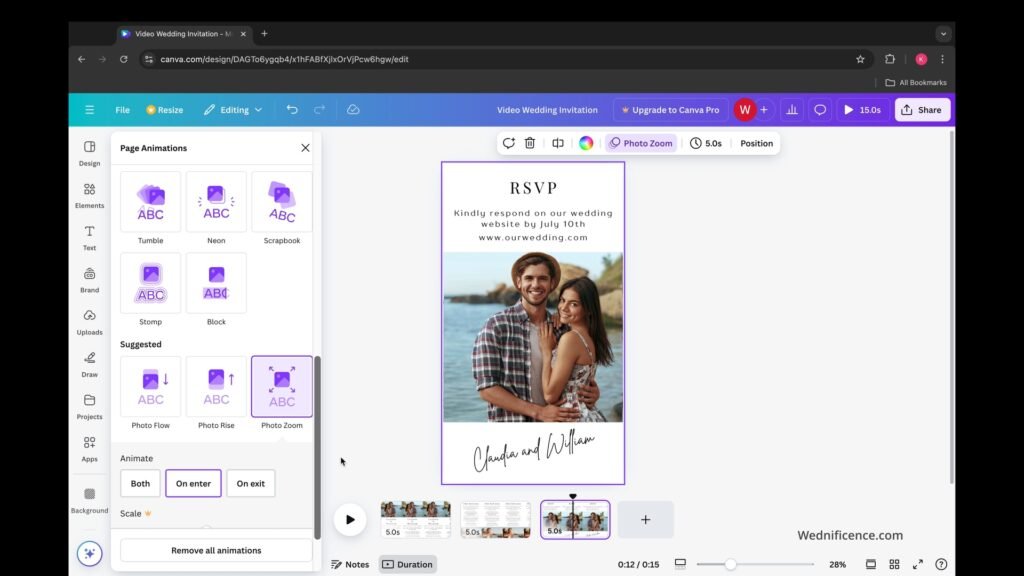
- Include the RSVP deadline and wedding website address.
- Add the third photo.
- Include the bride’s and groom’s names in an elegant signature font at the bottom to add a personalized touch.
4. Animate the Slides
- Click the “Animate” tool located on the toolbar at the top.
- Choose from a variety of animation effects.
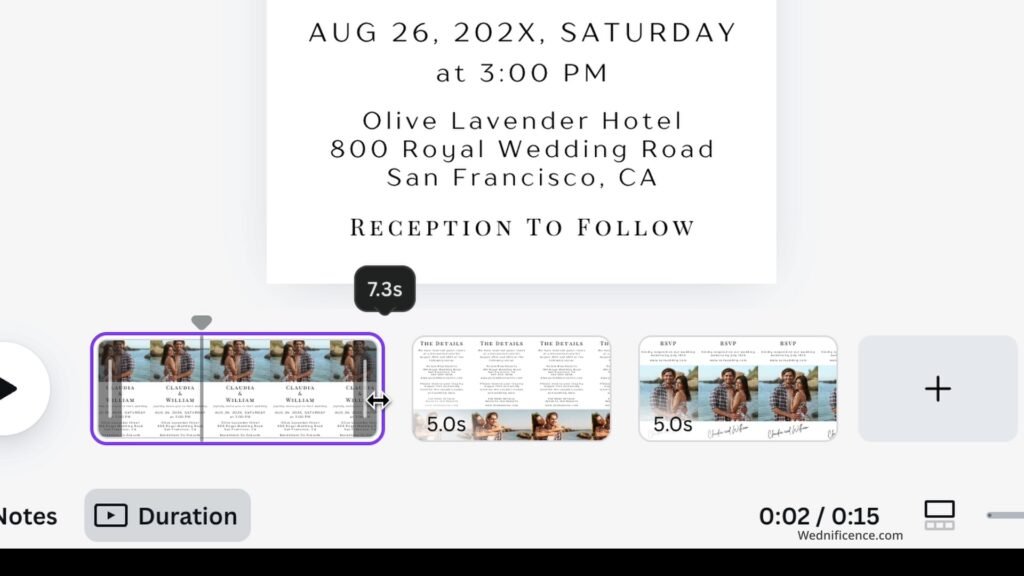
- Adjust the slides’ length on the timeline at the bottom to extend or shorten the video’s duration.
5. Download and Share the File
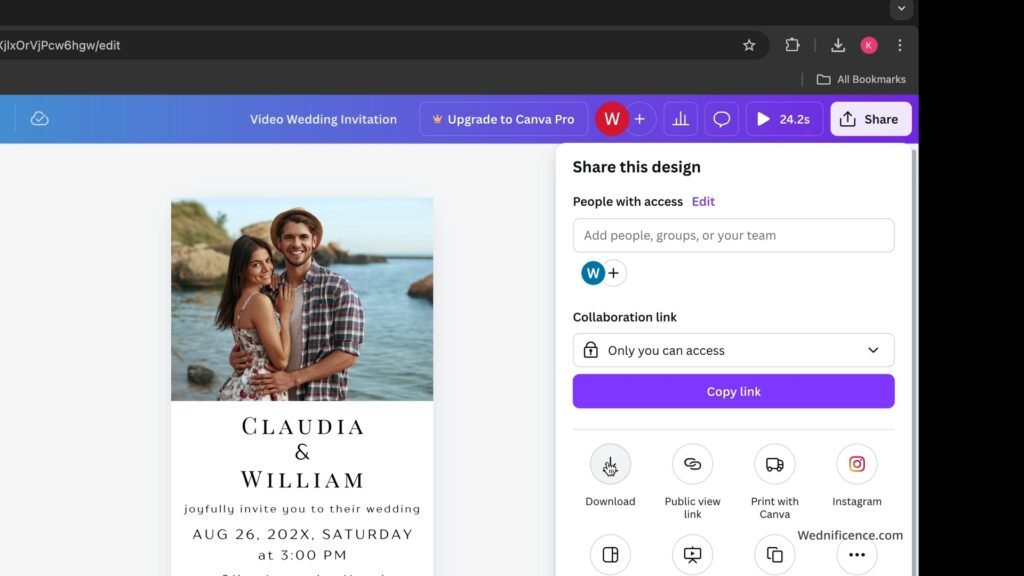
- Click the share button in the top right corner.
- Click the download button on the drop-down menu to download the mp4 file.
- Share the video file via messaging apps or email with your guests.
Link to the Free Template
Get the link to this free template here.
Written by Kash C. The writer is a graphic designer with expert knowledge of wedding stationery.