How to Make Your Own Wedding Invitations: 3 Best Ways
Weddings can become quite expensive because there are so many things to accomplish. Therefore, it is important to set a wedding budget and determine the maximum amount you can allocate for each expense. There is always an opportunity for cost savings in almost all aspects of a wedding, including wedding invitations that offer such an opportunity through DIY options.
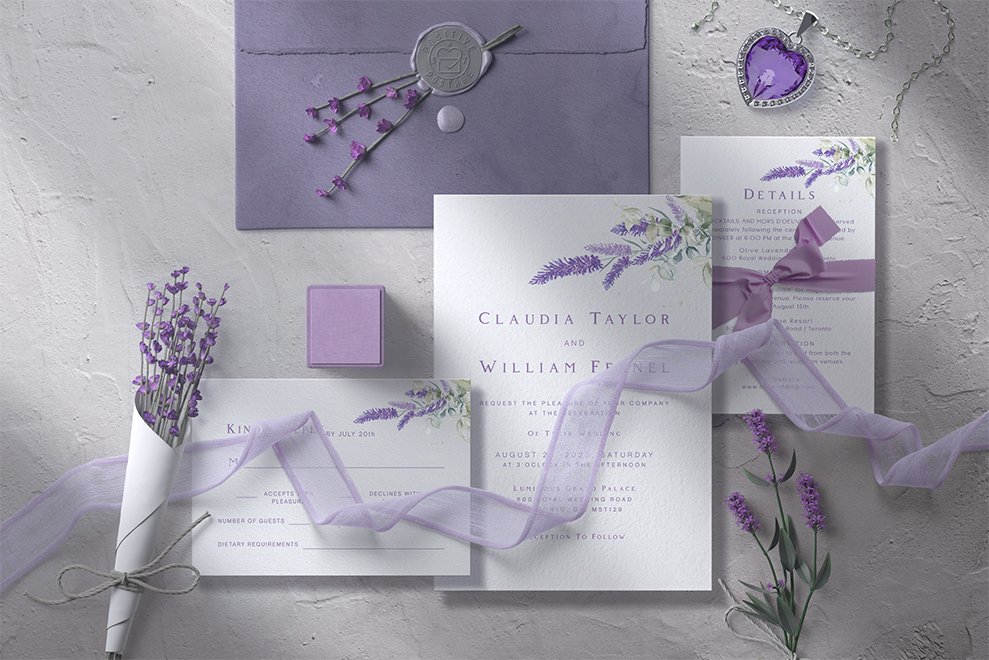
In fact, DIY wedding invitations can be a fun and creative way to save on your wedding budget. With the right knowledge and ingenuity, you can certainly create an impressive wedding invitation that your guests will surely admire. Additionally, DIY wedding invitations offer a multitude of options and a higher degree of flexibility because you can customize almost every aspect, including the paper type, overall design, fonts, and envelope. As an experienced wedding stationery designer, I am sharing my insights through this tutorial on how to DIY wedding invitations.
This editorial contains suggestions and recommendations based on real-world experiences, extensive research, and the deep insights of the writer, which are totally independent and unbiased. Since we are reader-supported, our articles could feature partner links. Should you make a purchase via a link, it may result in a referral benefit for us.
Materials and services needed and approximate cost
- Wedding Invitation Card, RSVP Card, and Details Card Template ($10-$30)
- Printer (if printing at home)
- Professional Printing Service ($1-$3 per card, depending on the volume, card size, and paper type)
- Glue ($2-$3) or Double-Sided Tape ($3-$8)
- Wax Seal Stamp Kit ($10-$60)
- Option 1: Wedding Envelope and Wax Seal
- Envelope A7 Euro Flap or A7 Square Flap ($0.20-$0.80 per envelope)
- Printable Envelope Liner Template ($10-$18)
- Professional Printing for Envelope Liners ($1-$2 per liner)
- Option 2: Vellum Jacket and Wax Seal
- Pre-folded Vellum Jacket ($0.14-$0.60 per count) or Printable Vellum Template ($10-$18)
- Professional Vellum Printing ($1.00-$1.50 per print)
- Option 3: Wedding Envelope and Belly Band
- Belly Band ($0.4-$2 per band) or
- Printable Belly Band Template ($2-$10)
Wedding Invitation Suite Templates: DIY wedding invitation templates are readily available on marketplaces like Zazzle and Etsy. These marketplaces offer a diverse range of templates, ranging from minimalist styles to intricate and complex designs catering to various wedding themes and styles. Etsy Shops offer DIY wedding templates that are typically customizable for fonts, graphics, and background colors. The typical price for these templates on Etsy ranges from $10-$30. On the other hand, Zazzle Marketplace offers an all-inclusive service, which includes a DIY template along with the printing. Accordingly, you have two options:
Option 1
- Buy DIY printable templates on Etsy.
- Print the templates at home or using a professional print shop like Zazzle or Prints of Love.
Option 2
- Buy printed wedding stationery through customizable templates at marketplaces like Zazzle.
How to print at home?
After the customization, if you plan to print your wedding invitation templates at home, there are a few things to keep in mind:
Buy a pack of thick cardstock: The thicker the cardstock, the better. The recommended cardstock for home printing is 100-120 lb. You can purchase the cardstock from online marketplaces like Amazon, Etsy, or any local shop of your choice. The average price of cardstock is in the range of $0.20-$1.00 per unit, depending on the quality, and it is generally sold in packs of 50, 100, 120, and so on. There is a wide variety of cardstock you can choose from, including the following:
- Basic Paper Cardstock: Available in different colors like white, cream, ivory, and beige.
- Handmade Cotton Cardstock
- Linen Paper Cardstock
- Deckle Edge Paper
In addition, the cardstock is available in different paper sizes (i.e., US letterhead and A4) and standard wedding invitation suite sizes:
- 5×7 inches for the wedding invitation
- 3.5 x 5 inches for the RSVP and Details Card.
How to print faster at home?
If your printer has borderless printing capability, you can opt for cardstock sized specifically for a wedding invitation suite. In this case, you won’t need to spend time trimming the papers as opposed to printing on US letter or A4-sized cardstock. However, if you choose to print on a larger US letter or A4 size cardstock with a large volume of invitations to print, consider using a paper-trimming machine in order to save time. Nevertheless, the trimming process can still be time-consuming because these machines can only handle a small volume of paper at a time. You can find these paper-cutting machines on marketplaces like Amazon, Etsy, or any local office supply store.
Ideal printer for home printing?
The ideal printer depends on your wedding invitation. If your wedding invitation features colorful and complex graphics and photos, an inkjet printer is more suitable because of its capability to print high-resolution and vibrant colors. On the other hand, laser printers are better suited for minimalist wedding invitations with no or limited colors because they are cost-effective.
Printing using a professional print shop
You can also use an online print shop like Zazzle, Prints of Love, or any local print shop for the prints. Most professional shops require a bleed, typically 1/8 inches of extended graphics and background color. The bleed is required in order to avoid blank edges caused by variations in trimming, as cutting might not be 100% precise, which can cause a slight increase in size. If graphics are not extended, it might result in blank edges that will look awkward.
DIY Option 1: Using a wedding envelope and wax seal
Wedding Envelopes
There are two common envelope standard sizes typically used for a wedding invitation suite:
- A7 Euro Flap
- A7 Square Flap
You can find these envelopes on online marketplaces like Etsy, Amazon, Zazzle, or any nearby local wedding stationery shop. Generally, A7 Euro flap envelopes look more elegant and sophisticated. Furthermore, you can use colored envelopes to accentuate your wedding theme, such as dusty blue envelopes for a dusty blue-themed wedding. Though prices can vary significantly based on the material used in an envelope, a basic envelope typically costs in the range of $0.20–$1.
Printable Envelope Liners
Envelope liners add extra elegance and depth to a wedding invitation suite. Without a doubt, elegant floral and vintage illustrations make your wedding invitation stand out. You can find many impressive printable envelope liner designs on Etsy. Print them at home or at a professional print shop of your choice.
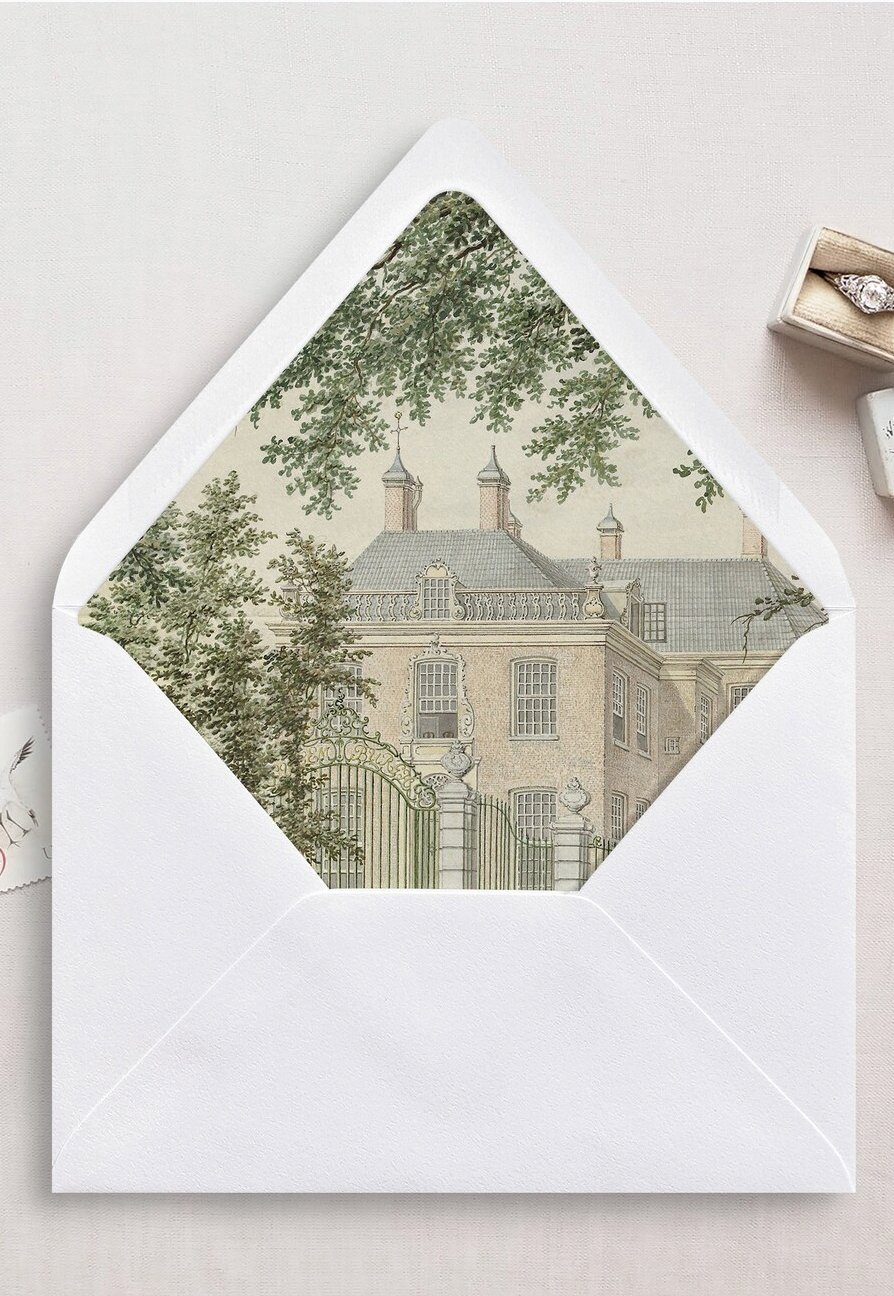
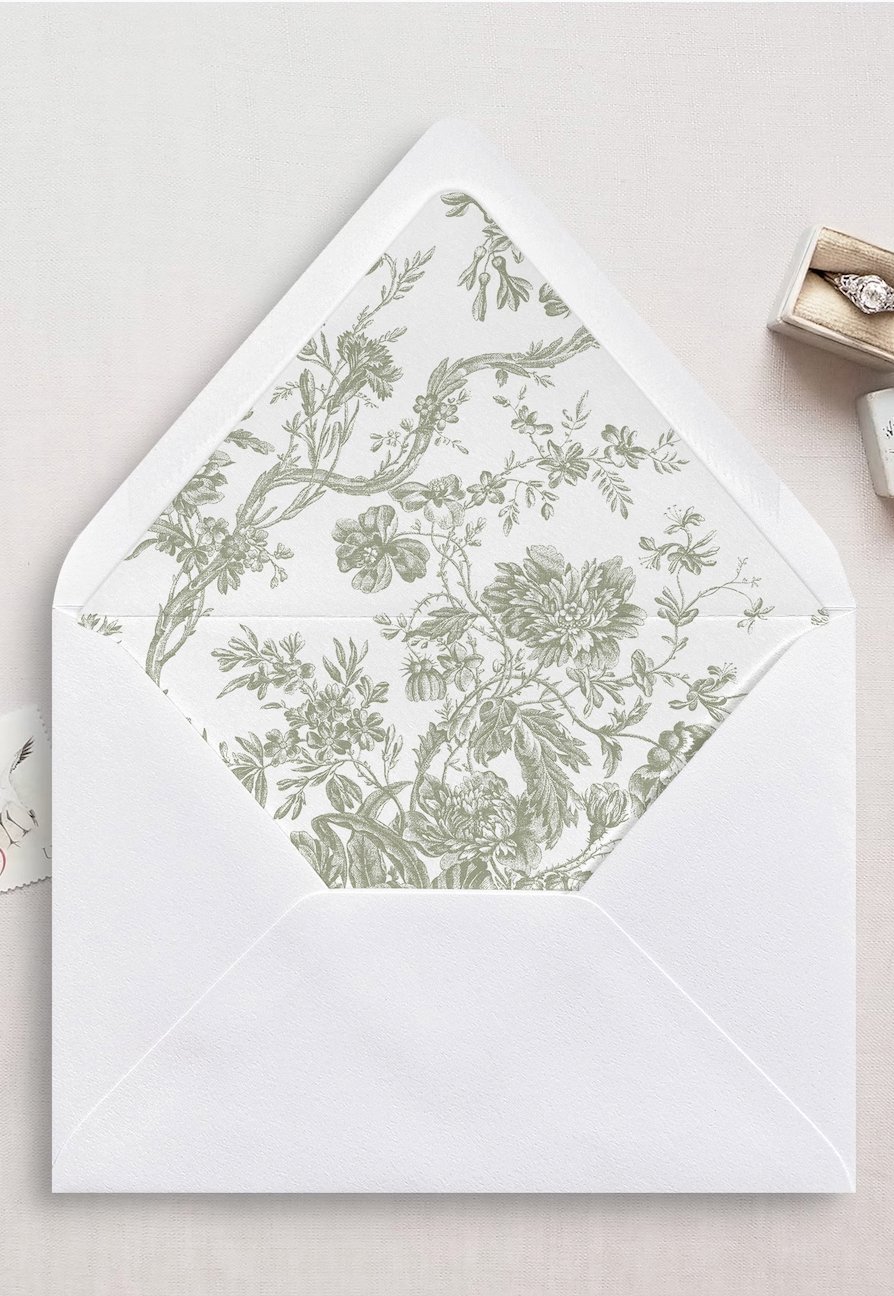
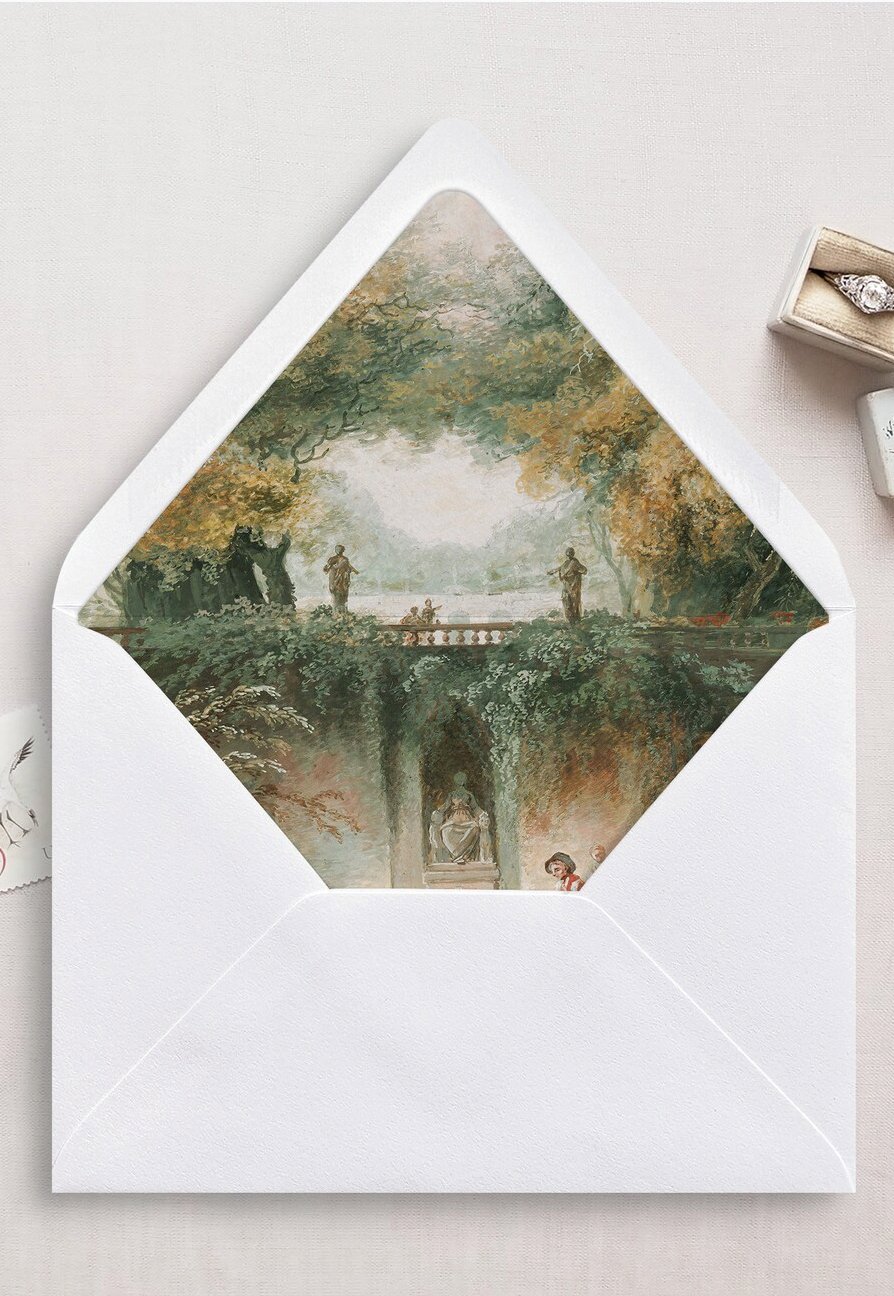
Source: SilverSixPress
How to print envelope liners at home?
You can print envelope liners on 60-80 lb cardstock that is not very thick but provides a sturdy finish. Also, inkjet printers are specifically recommended for printing envelope liners because of their capability to print high-resolution, vibrant graphics.
How to trim fenvelope liners at home?
You can trim envelope liners using scissors or paper cutters. Keep in mind that this is going to be a time-consuming process, especially if you have a large volume of invitations.
Printing envelope liners using a professional printing service
Many online shops, such as Cards and Pockets and Zazzle, offer custom envelope liner printing services. You need to upload your design to their portal and order the prints. If you have a large volume of invitations, choosing a professional print shop can save you time on trimming the envelope liners. The average price is typically in the range of $1.00 -$1.50 per print.
Inserting an envelope liner
Here are the steps to affix an envelope liner inside a wedding envelope:
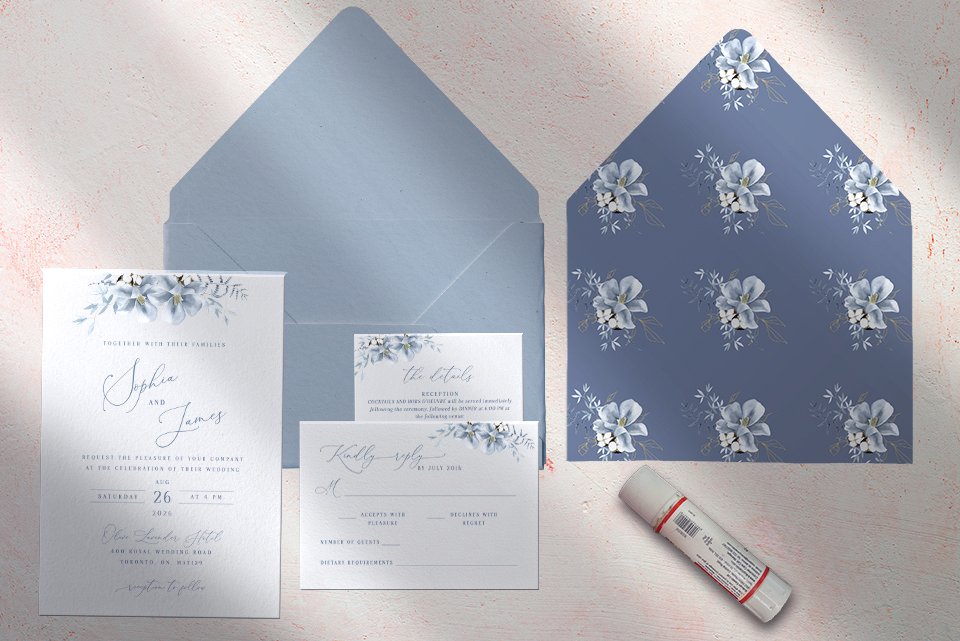
- Place the trimmed liner inside the envelope, ensuring it is properly centered and positioned.
- Close the envelope flap and gently press down on it to create a crease in the envelope liner. This helps to identify the portion of the liner that covers the envelope flap.
- Apply adhesive or double-sided tape to the back portion of the envelope liner that covers the envelope flap.
- Press the inside of the envelope flap and smooth out any bubbles or wrinkles for a flawless appearance.
- Allow it to dry before further handling the envelope.

Placing wedding cards inside an envelope
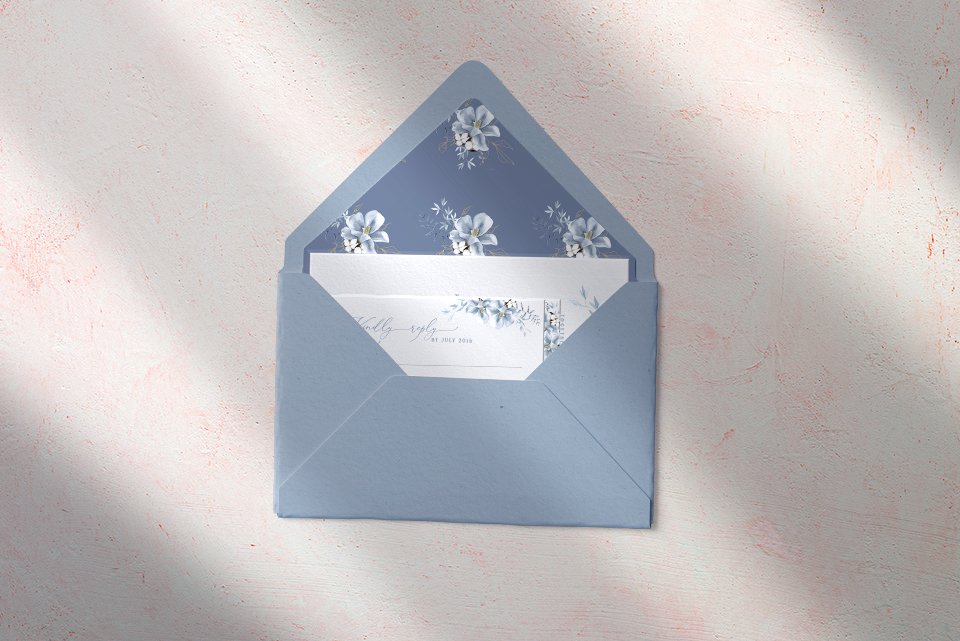
The general rule is to keep the main wedding invitation card at the bottom and the remaining enclosure cards over it, with the RSVP card at the top. Gently place the cards inside the envelope and close the flap.
Making a wax seal using a wax seal kit
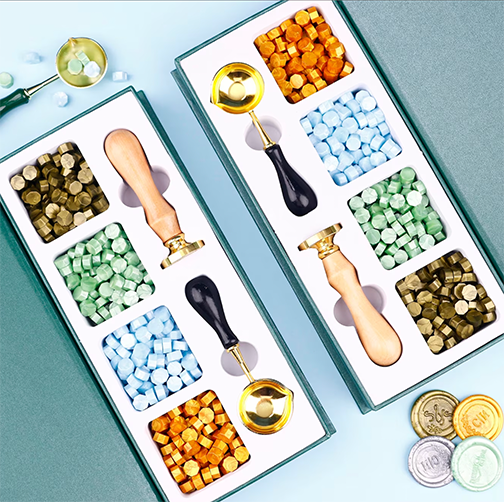
Wax seal stamp kits are readily available on online marketplaces like Etsy and Amazon, typically priced in the range of $10-$60 depending on the number of wax beads and accessories included within a specific kit. You can choose a stamp logo from a variety of options presented by the seller or send your own logo to the seller for a customized stamp.
Source: MrWoodAcry
Here are the steps to make a wax seal using a wax seal kit:
- Light a small candle and heat the wax beads in the spoon provided in the kit.
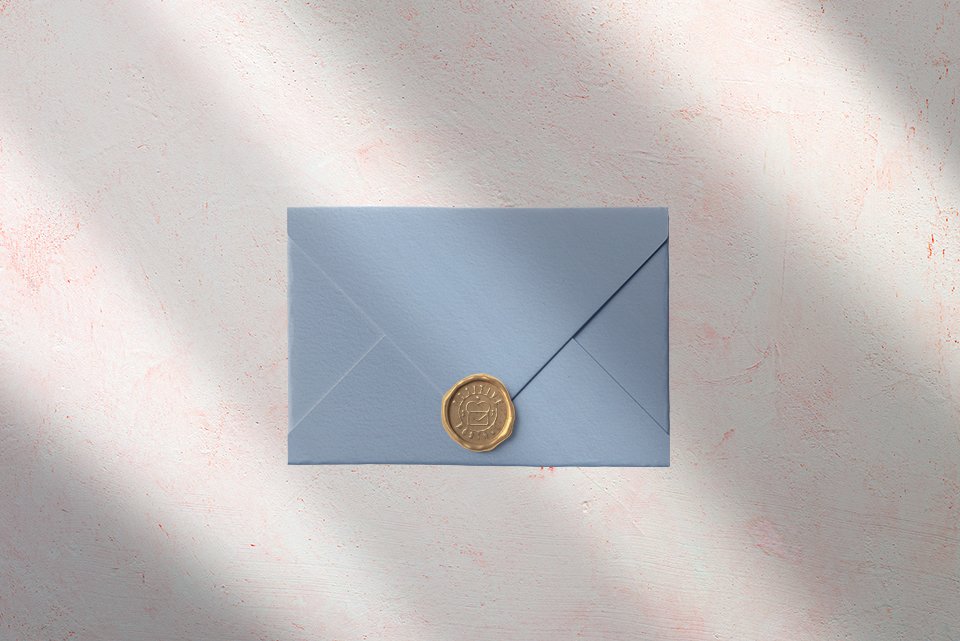
- Pour the melted wax directly onto the envelope.
- Imprint the stamp into the melted wax, wait for 20 seconds, and gently pull out the stamp.
Additional embellishment ideas
You can also enhance the overall appearance of the wedding envelope by adorning it with dried flowers. These dried flowers are readily available on the Etsy Marketplace, typically priced in the range of $7-$12 for a set of 18-20 pieces.
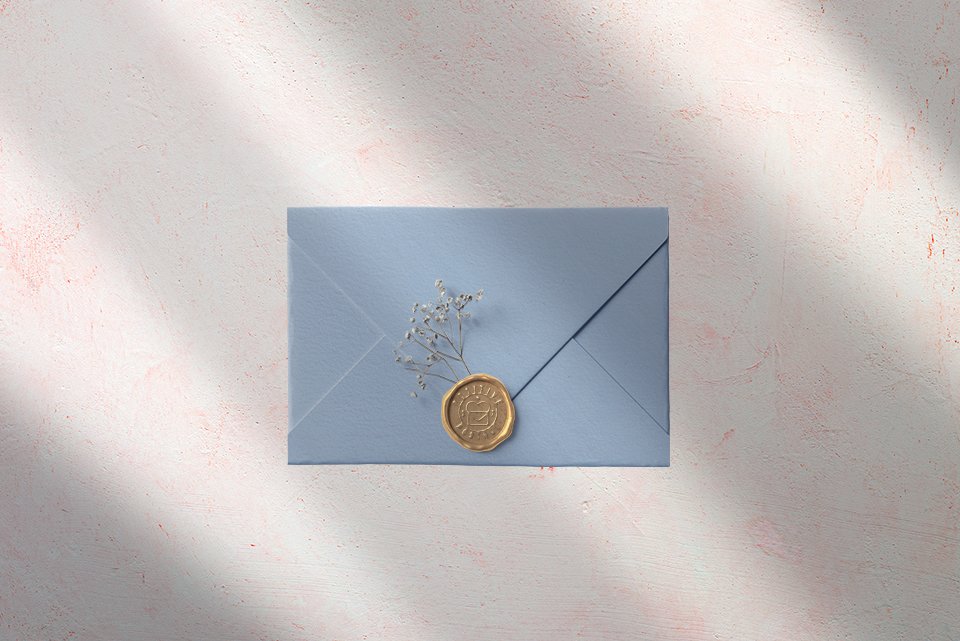
Option 2: Using a vellum jacket and wax seal
Pre-folded Vellum Jackets
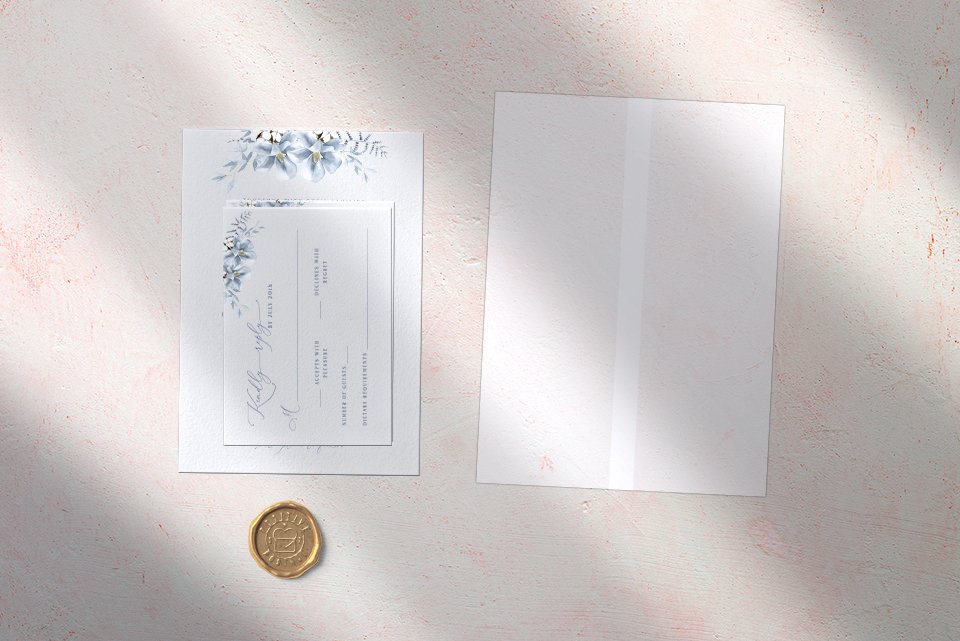
You can use a pre-folded vellum jacket in place of a wedding envelope to make your wedding invitations. Pre-folded vellum jackets are readily available on Etsy and Amazon Marketplaces, typically priced in the range of $0.14-$0.60 per jacket.
- Arrange your wedding invitation suite with the main card at the bottom and any additional enclosure cards, such as RSVP and Details Card, on top of it.
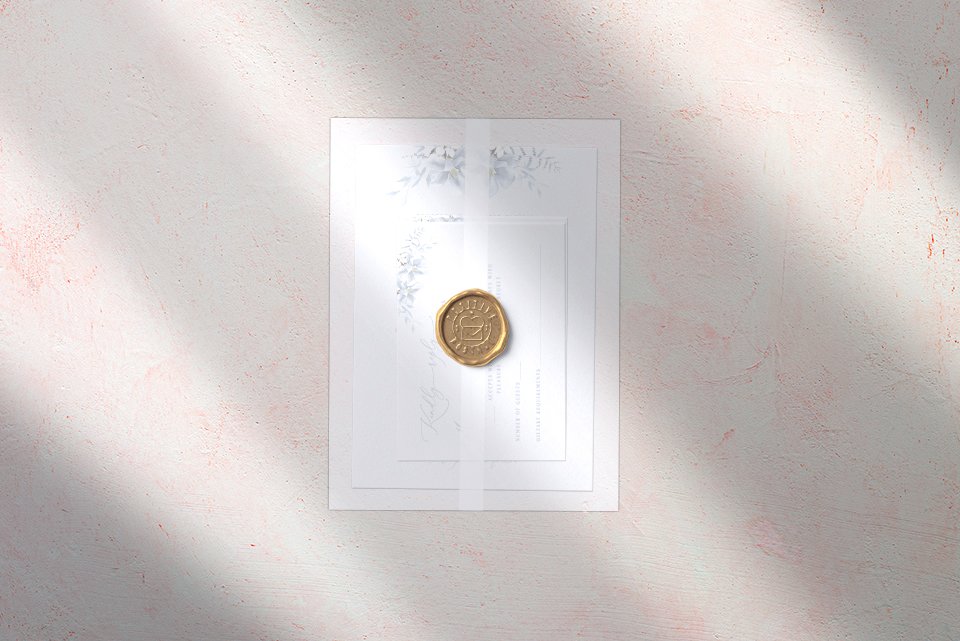
- Place the arranged wedding invitation cards inside the vellum jacket.
- Close the jacket with a wax seal, a sticker, or a ribbon.
Additional embellishment ideas
You can also use additional embellishments, such as ribbons and dried flowers, in order to further enhance the overall appearance of your wedding invitation suite wrapped in a vellum jacket. Though prices can significantly vary depending on the quality, wedding ribbons typically cost in the range of $4–$10 for a 5-yard ribbon, and dried flowers typically cost in the range of $7-$12 for a set of 18-20 pieces.
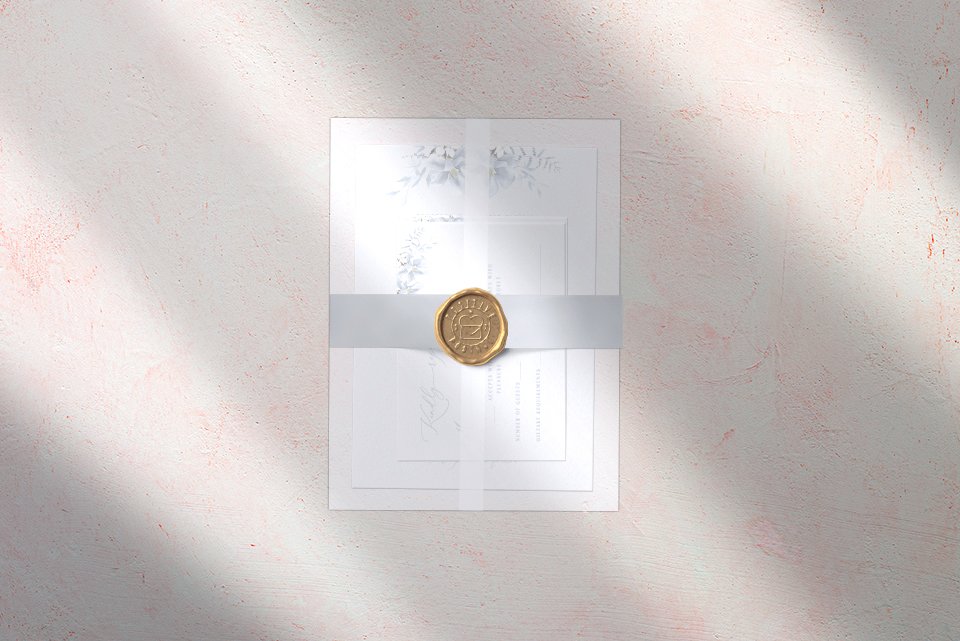
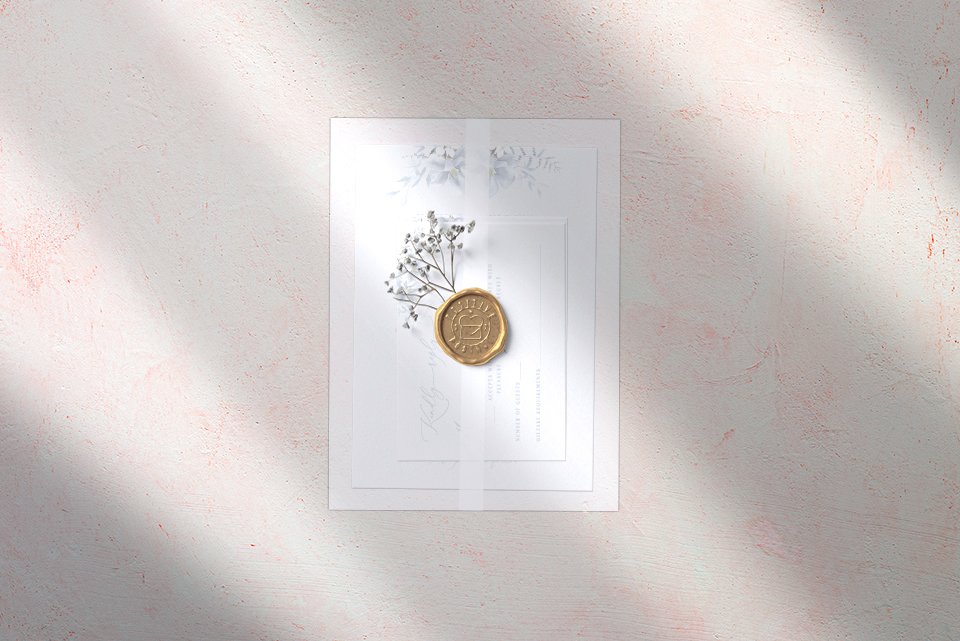
Printable Vellum Wrap
Many template shops on Etsy sell printable vellum wrap designs, typically priced in the range of $10-$20. There is a diverse range of elegant floral and vintage illustration designs to choose from. These designs can be printed on vellum paper either at home or at a professional print shop. You can wrap this printed vellum paper around your wedding invitation cards and close it with a wax seal, a sticker, or a ribbon.
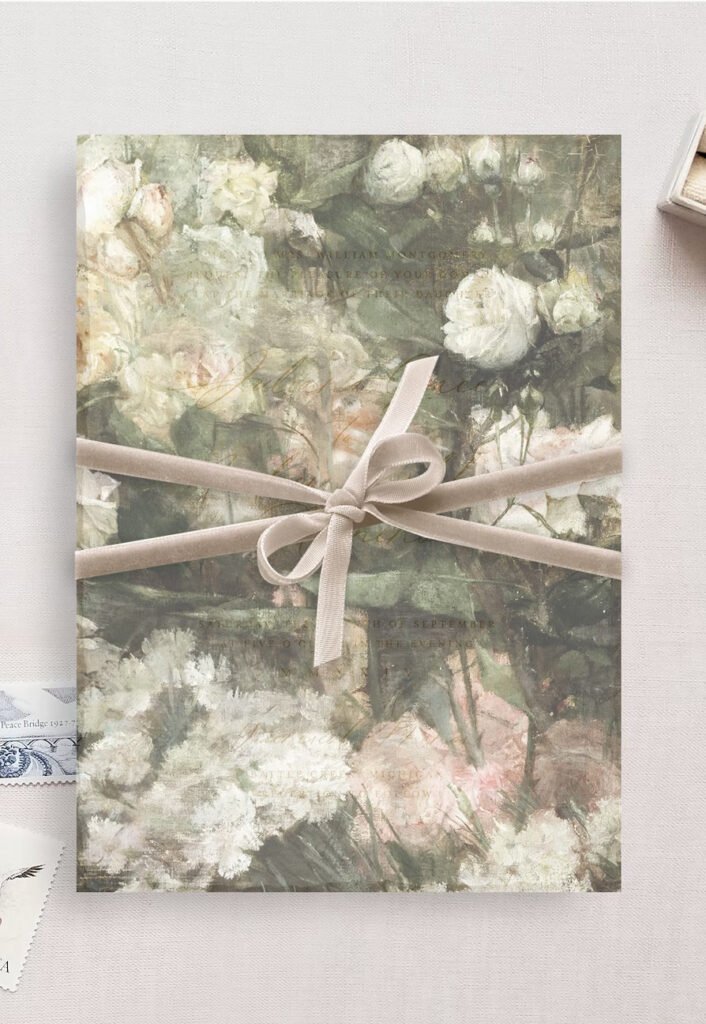
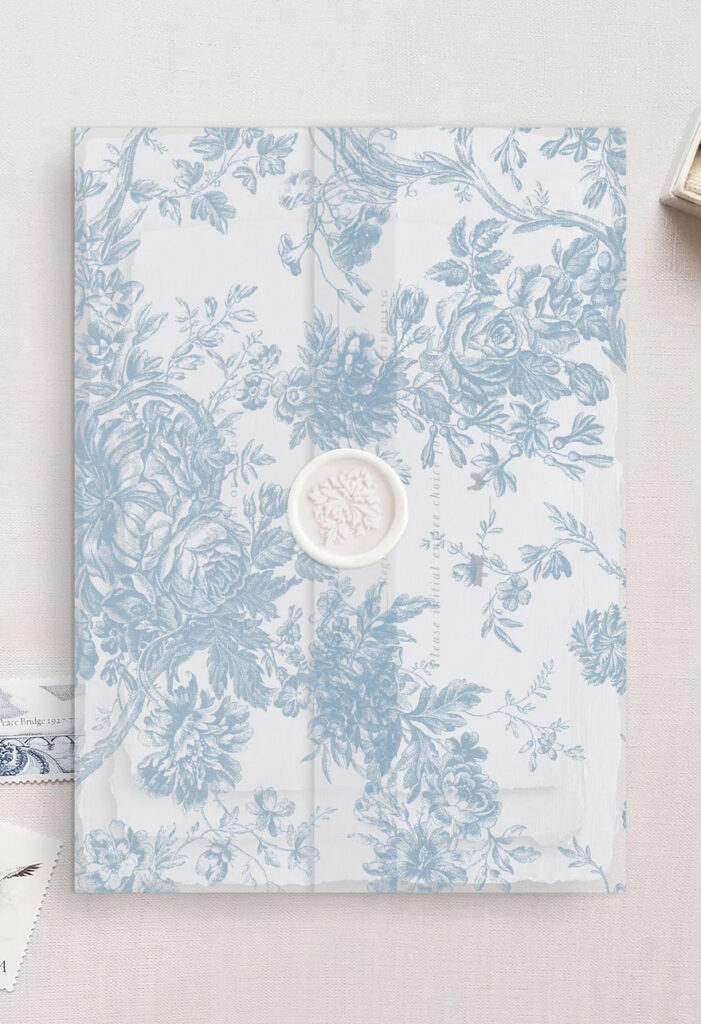
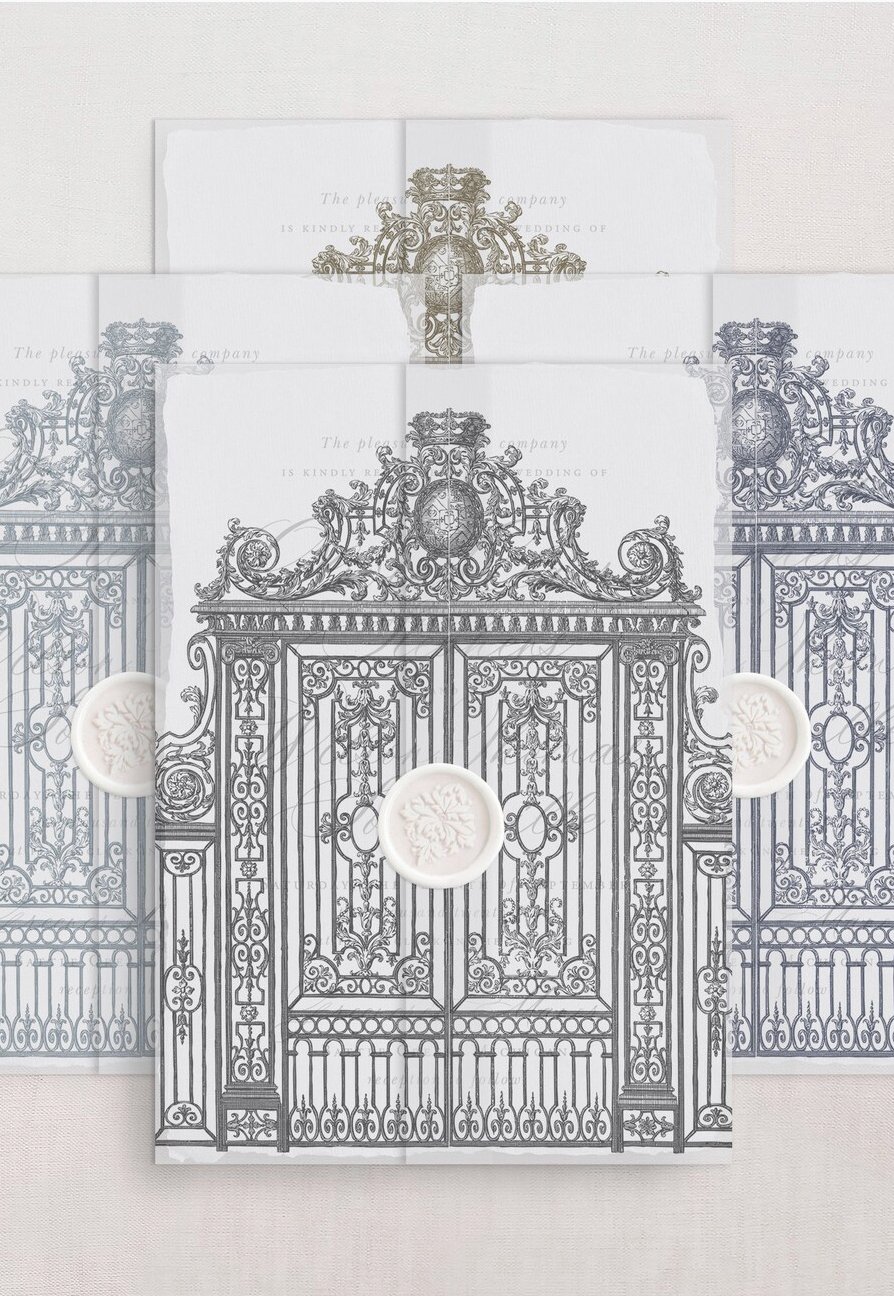
Source: SilverSixPress
Where can I get vellum paper for printing?
You can get vellum paper from online wedding stationery shops like Cards and Pockets. Based on my experience, their vellum paper is of superior quality.
Can you print on vellum at home?
Yes, it is possible. However, there are a few tips and tricks to achieve this. I have found a very useful article on the Pipkin Paper Co. website. You can visit the link here to read.
Custom vellum printing
There are many online shops that offer custom vellum printing, such as Cards and Pockets and Etsy shops. They are typically priced in the range of $1.45-$2.00 per print.
Option 3: Using a wedding envelope and belly band
Belly bands are another way to add an elegant finishing touch to your DIY wedding invitations. You can get these bands from online shops, such as Zazzle, Cards and Pockets, and Etsy Marketplace, at prices typically ranging from $0.40-$2 per band.
Printable Belly Band Templates
Etsy Marketplace has many shops offering printable belly band templates, priced in the range of $2-$10. There are a wide variety of belly bands, including minimalistic, floral, monogram, and illustration designs. You can buy these templates and print them at home or at a professional print shop.
Printing belly bands at home
Most printable belly band templates are around 2 x 11 inches in dimension; therefore, they can be printed horizontally on a US letter or an A4 size cardstock. The recommended cardstock for printing belly bands ranges from 80-110 lb, which is an appropriate weight for a sturdy band. You can trim the printed belly bands using scissors or a paper cutter.
Printing custom belly bands using a professional print shop
There are some online print shops, for example, Zazzle, that offer custom belly band printing. You can upload your designs to their portal and order the prints. Custom belly band printing is typically priced in the range of $0.40-$0.80 per band.
Wrapping a belly band
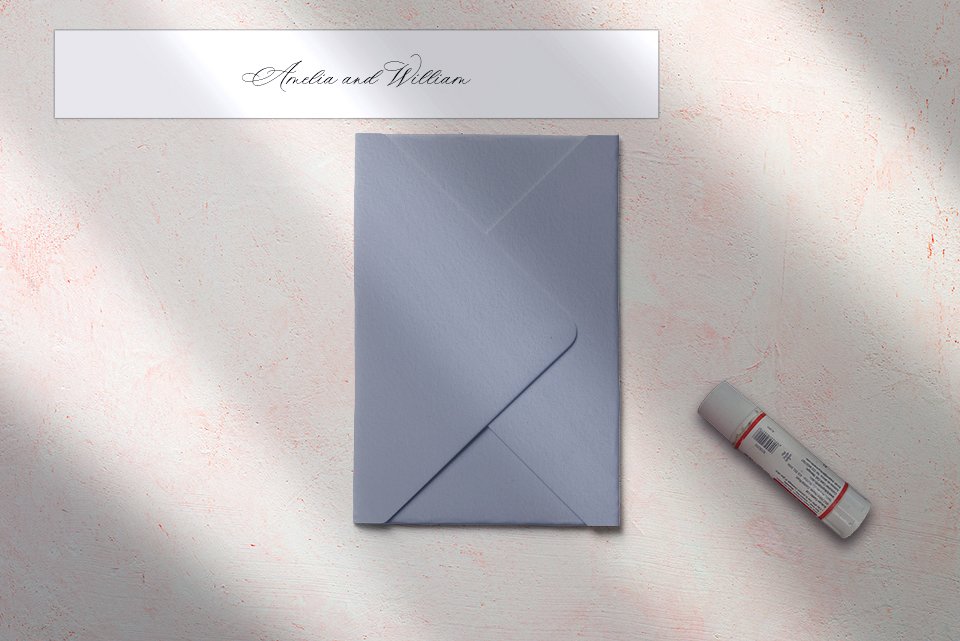
Here are the steps to wrap a belly band around a wedding envelope:
- Arrange your wedding invitation cards with the main invitation card at the bottom and the remaining enclosure cards on top of it.
- Place the arranged wedding invitation cards inside the wedding envelope and close the envelope.
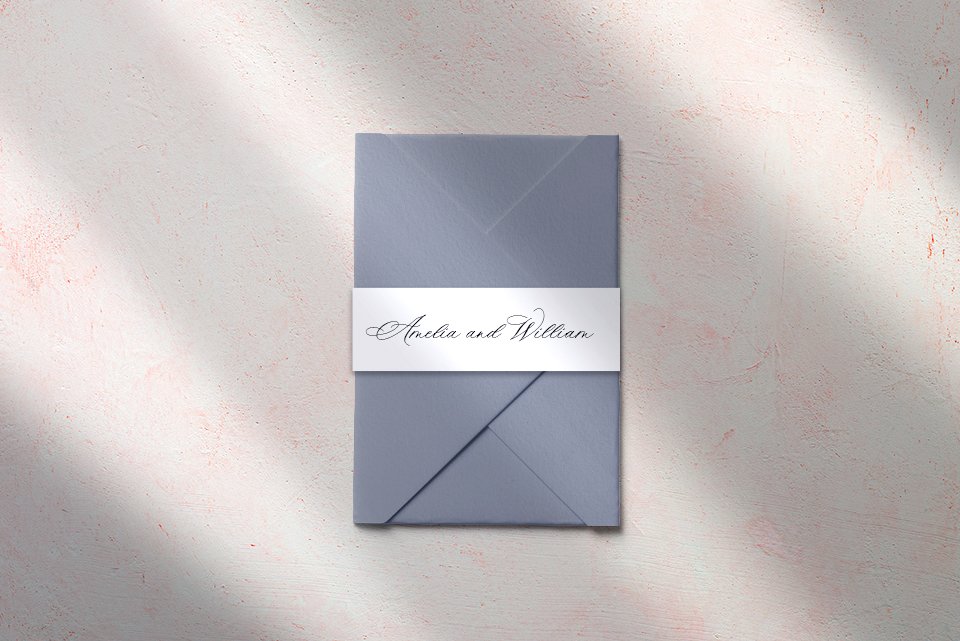
- Wrap the belly band around the envelope, ensuring it is centered.
- Apply adhesive to secure the ends of the belly band on the back of the envelope.
- Ensure the belly band is snug but not too tight, allowing for easy removal.
- Double-check that the belly band is appropriately centered and make adjustments if needed.
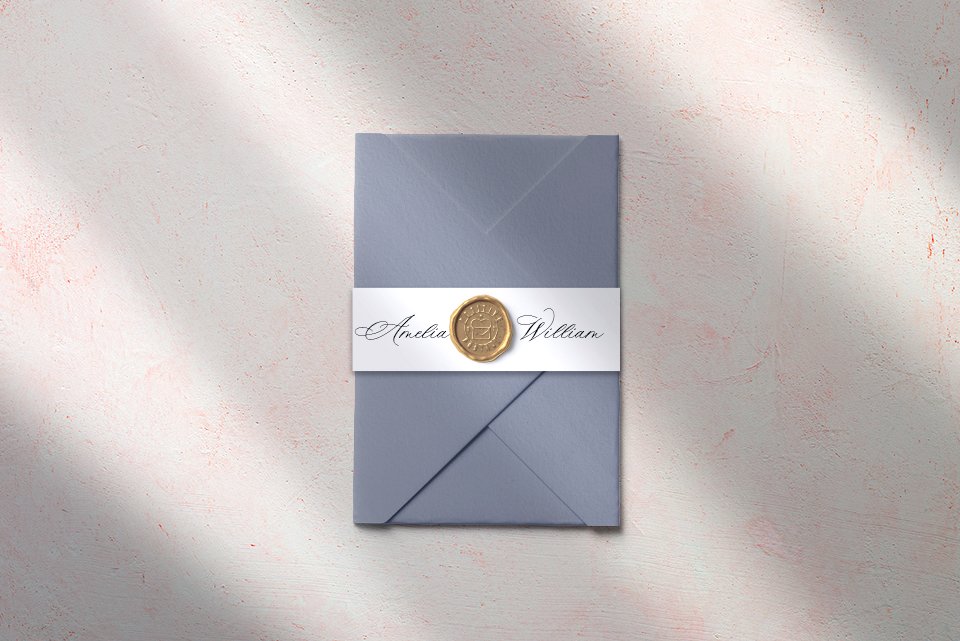
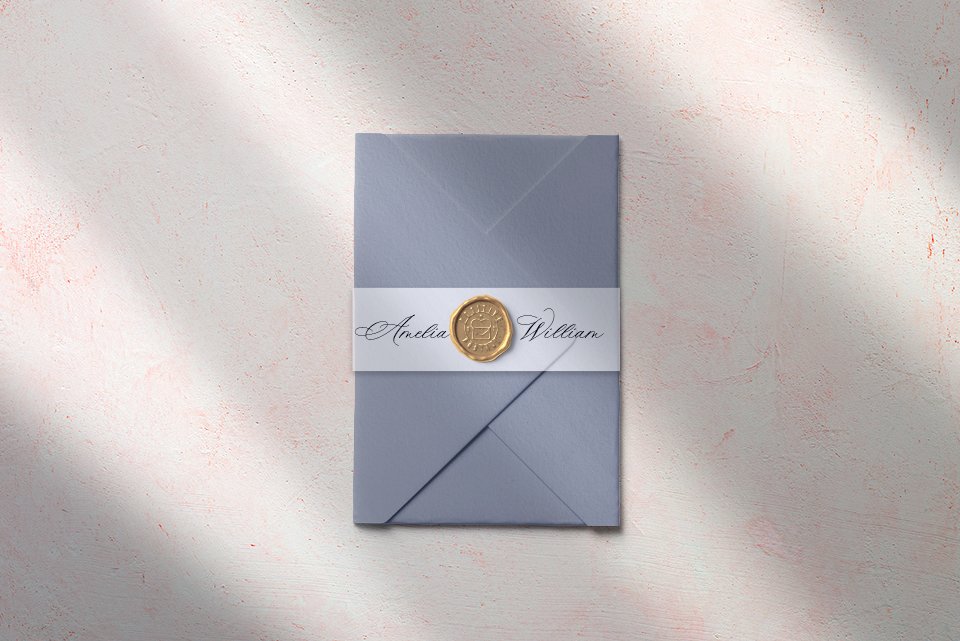
Additional embellishment ideas
You can also use a vellum belly band and affix a wax seal to further enhance the overall appearance of the wedding envelope and make it stand out.
Written by Kash C. The writer is a graphic designer with expert knowledge of wedding stationery and printing process.
You might also like to read my other article on DIY wedding invitations 20 Ways to Make Your Wedding Invitations look expensive.